Building a Mood Tracker Single-Page App with a Rails Backend and Javascript Frontend

What is a Single-Page Application?
Before diving into my project, I really wanted to explore what a single-page application even is. The main difference here is that compared to the traditional way of a web server loading a completely new page, SPApps operate by dynamically rewriting the page each time an Event is triggered. The user’s interface is supplemented with information provided by the webserver(the backend). This doesn’t refresh the page. Therefore maintaining the criteria to stay a single page application.
How do things get displayed though if the page is not refreshing? The frontend interface is controlled by Javascript via AJAX without page refreshes which translates data from the backend as JSON. Now instead of HTML being served from the server data is being sent via JSON rendering as the view. This was a little confusing to me at first because I didn’t know how JSON, which operates as a string can display data in an organized way. This is easily done however by converting a JSON string into a JS Object Oriented Object. Javascript’s library thankfully possesses a global JSON object which has functions that can convert between the two.
Comparisons to Rails Project
While building my mood tracker app utilizing a rails backend and javascript frontend. These were some of the key differences I noted during the process compared to building an app with only rails was there was no longer a need for a views/ folder since that functionality was now operated through the javascript frontend and there was minimal code and logic in the backend and the most obvious being there are two servers now. Or more specifically the frontend operates as an extension of the backend.
Object-Oriented & Connecting the Frontend to the Backend
In order to connect the frontend to my backend properly, I have to make a fetch request to the backend with http://localhost:3000 as the endpoint. This fetch request typically looks like this:
static fetchMoods(){
fetch(http://localhost:3000/moods)
.then(res => res.json())
.then(moods => {
for(let mood of moods){
let newList = new Mood(mood.data)
}
this.renderMoods()
})
}
Since I was making multiple fetch requests throughout my app, I decided to simplify by saving the URL routes in variables. Like so:
const moodURL = `http://localhost:3000/moods`
const reviewURL = `http://localhost:3000/reviews`
Note that this fetchMoods function is a static function because it directly manipulates the DOM whenever I want to alter or display a new element in it. You may have noticed the “this” in this function as well. This is similar to an instance variable in rails where the value of this can change when this method is called depending on the circumstance. Accessing data from the backend is pretty simple utilizing JSON but in order to create an Object that the JavaScript frontend can access it must be converted to a JavaScipt Object Oriented Object which is what the line “ let newList = new Mood(mood.data) does.
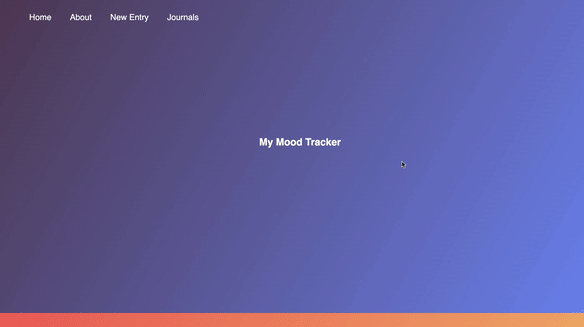
Completion and Making it Look Pretty
After successfully connecting the frontend to the backend. I wrote the functions I wanted in my app on the frontend side in JavaScript. For each class I wrote very basic create and display functions which encapsulate the Create and Read portion of CRUD functionalities. I also made sure to separate the functions by classes. Initially I wrote all my functions in the index.js but since I wanted to separate things by concern so I divided the classes. I created mood.js and review.js files and then moved all the functions corresponding to that class to their respective files. Lastly I added a style.css file which holds the css styling part of the app. In order for the styling portion to display in the DOM I had to incorporate this line in the index.html file.
<link rel="stylesheet" href="./style.css">
Since this is single page application I thought it would be cool to be able to scroll in between “pages” like so:
I did that by adding this line in the style.css file:
html{
scroll-behavior: smooth;
}

Comments
Post a Comment